Showing posts with label River skiff. Show all posts

Sunday, November 27, 2011

Mississippi River Skiff: update

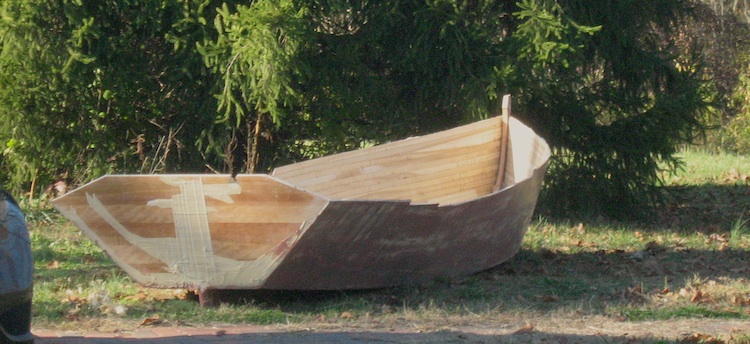
The exterior of the hull has been glassed, kevlared, and faired.
We removed it from the forms and got our first ever look at this hull form.  Are there any other Mississippi river skiffs of Howard Chapelle's lines out there?  It is on page 99 of his ASSC.
Let us know.
We like it.
The hull was stripped above the shear.  The plan is to cut the shear after all the glassing is finished.
The strong back is being taken apart and removed from the shop.
We will get the hull back inside and begin sanding the interior and prepping for the interior glass.
Next, we will be forming the thwarts, seats, and bow deck enclosure.


Tuesday, November 15, 2011

Mississippi River Skiff update:

We just glassed the MRS.  After a final fairing and sanding, we glassed the hull with 9oz glass cloth set in low viscosity Raka epoxy with a slow hardener.  This gave us plenty of time to roll out all the wrinkles with a ridged roller.
After three hours we gave it a thin fill coat to fill in the weave.  After another three hours had passed, the surface was slightly tacky and we rolled out the pre cut Kevlar for the bottom.  This received the same epoxy treatment.  It was then three am. so we called it a night.
9oz cloth, originally 50 inches wide, cut down to overlap on the centerline.

The skeg has a 3/4 inch fillet for strength and to ease the layup.  The glass laps in both directions.

The Kevlar bottom will allow for some rough landings.

Monday, September 12, 2011

Mississippi River Skiff construction


Since the bottom of the Mississippi river skiff is "flat"  (it bends through only one plane,) is was super fast to finish.
Because of this we could use wide planks. The planks are 4.5 inch wide ship lapped cedar planks.
They are 5/8ths thick. We started with the bottom and are working down to the gunnels.
After the new poplar had thoroughly dried we planed the strips down to 3/8ths of an inch thick and started the hull's sides.  Working down on the form is different.  It is the opposite of our past projects but for this boat it is working well.
We are using edge clamps to press the strips together and additional clamps to keep the strips tight to the form.  The size of the boat meant it was going to require a trailer from the start.  This lessened the weight considerations and freed up up our choice of materials and thicknesses.  The transom is an attractive shape and we are going to cut it out of a cherry glue up.  It will be an inch thick.
The first hull we build will be set up as a row boat with two stations per the plans.  But the transom will be engineered to take the stress of an outboard.  This is always wanted around here. 
A sail version could be next.


A plumb bob is used to make sure the bow is not pushed out of alignment as the sides are built.
The bob is about 150 years old, and it still works!


Monday, August 22, 2011

River Skiff Bow


The skiff's bow is a portion of a circle with a radius of 33 inches.
We scribed it onto a piece of cherry and cut it out.
Next we doweled and epoxied a foot in place.


Sunday, August 21, 2011

Station molds for the River Skiff

After calculating the height above the base line for each station, we cut hardwood blocks to the exact height for each one.  The stations are then set with a string on their centerline and clamped down.


This illustrates my connection method for the stations.  I like using steel for the strong back and forms.  You can't beat it for strength, straightness, and ease of clamping.

For the strong back we use a steel angle that is 6 inches wide by 3.5 inches tall by 1/4 inch thick.  This twelve foot section has two brackets that each sit in boat stands, so it can easily be raised or lowered by spinning the boat stand's tongs.
To add the additional length for the boat , we bolted on a 5 foot section of channel.
This is supported by a stiff leg.